
How to set up your Roku Smart Bulb SE
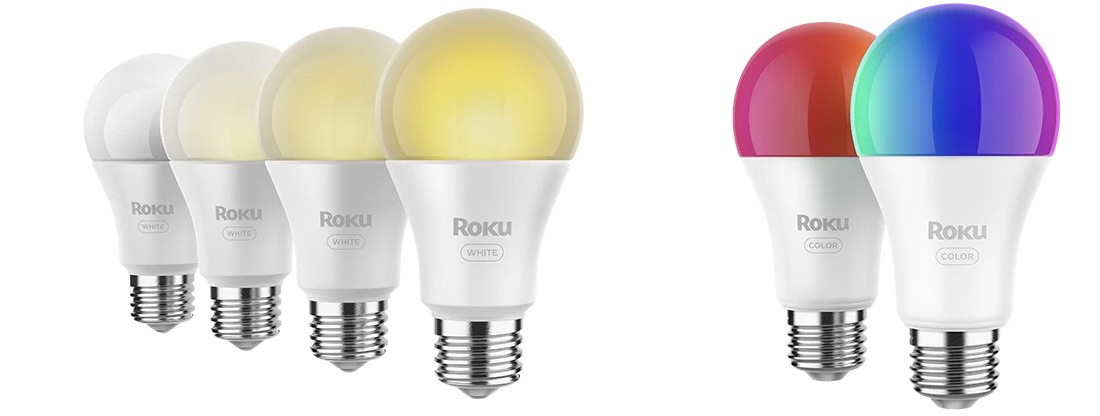
A Roku® Smart Bulb SE delivers bright, natural light with adjustable light temperature, offers the ability to create schedules and routines, and allows multi-bulb sync to control up 25 bulbs at the same time. Both models have customizable brightness and temperature, while the color model offers 16 million color options.
Simply download and open the free Roku Smart Home app for iOS® and Android™ to connect your smart bulbs to your wireless network. You will be controlling each one from anywhere, personalizing settings such as when your light turns on or off, and color temperature.
What you need for setup
In addition to each Roku Smart Bulb SE, you will need the following:
- Power: Your A19 smart bulbs have an E26 base and require a 120V power socket.
- Wi-Fi®: Your smart bulbs need a 2.4 GHz wireless network connection with WPA/WPA2 security standard.
- Smartphone or tablet: You will need to download and install the Roku Smart Home mobile app on your iOS or Android mobile device to set up and control your smart bulbs.
- Bluetooth™: Your smart bulbs need to connect to your mobile device with Bluetooth.
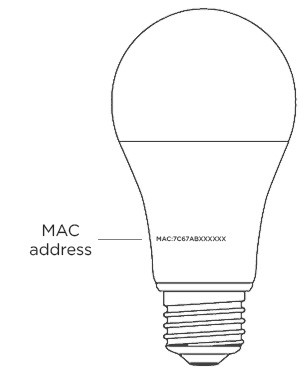
Before you begin, familiarize yourself with your smart bulbs and make note of their MAC addresses. These unique 12-digit alphanumeric addresses are required should you need to contact Roku Customer Support.
Where to install your smart bulbs
Each smart bulb can be installed just about anywhere in your home with many uses, including:
- Lamp: With sunlight match, you can gradually wake up and gently fall asleep with the sun.
- Vacation lights: Whether you are traveling or simply out for the night, use vacation mode to have your lights randomly turn on and off to make it seem like you are home.
- Set the mood: Create the right atmosphere for your next movie night, dance party, or game night.
- Note: Do not use your smart bulbs:
- With a dimmer switch
- Where directly exposed to water
- In a narrow or poorly ventilated fixture
- As emergency lighting
Getting started
When you are ready, screw each smart bulb into a light fixture with an E26 socket size and a 120V power socket. Make sure the light switch is off when installing or removing each smart bulb.
You can view the tutorial video below or check out the appropriate Quick Start Guide or continue reading the remaining steps in this article.
- Quick Start Guides
 Roku Smart Bulb SE Color (model BC1000)
Install the smart home app
The Roku Smart Home mobile app is a free application for iOS and Android that lets you set up, configure, and control your Roku home monitoring system, cameras, video doorbells, plugs, bulbs, and light strips. You can download the smart home app from the appropriate link below.


Connect your smart bulbs
Before you get started, make sure your smartphone or tablet is connected to your 2.4GHz Wi-Fi network (e.g., MyNetwork_2.4GHz). Next, launch the Roku Smart Home app and create a new Roku account, or enter the username and password for your existing account. After you sign in, perform the steps below to connect each smart bulb.
- Add your smart bulb
- Tap the plus sign
 from the navigation bar and select Add device
 - Select Lights & power and choose Smart Bulb - White or Smart Bulb - Color
- Screw in your smart bulb. Whether you got a color or white smart bulb, new lights automatically begin to pulse. If you are setting up multiple bulbs, they will all pulse. If your light is not pulsing, turn them off and back on again 3 times to enter pairing mode. Then tap Next.
- Tap the plus sign
- Connect to Wi-Fi
- Your 2.4 GHz wireless network should be listed in the Wi-Fi network name pull-down
- Learn how to identify and connect to your 2.4GHz network
- Enter your password and tap Next
- Finish setup
- Name your smart bulb and press Finish
With the Wi-Fi connection, you will be able to control your smart bulbs remotely. If you are using a smart bulb without Wi-Fi, you can still turn it on/off manually with the physical light switch on the wall.
Using your smart bulbs
When you are ready to learn even more, check out some of the other great features your smart bulbs offer.