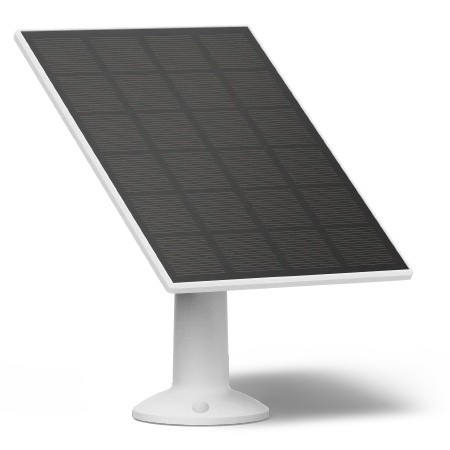
How to set up a Solar Panel with your Roku Outdoor Camera

The Roku Solar Panel keeps your wire-free Roku Outdoor Camera SE charged up all the time, anywhere, in any weather, so you don’t have to bring it inside to recharge. Easily mount your panel, adjust it to get max sunlight with 360° swivel action, connect to your camera, and get an uninterrupted view of the great outdoors.
This article provides instructions on how to install, set up, and troubleshoot your Roku Solar Panel.
What you need for setup
In addition to your Roku Solar Panel and included accessories you will need the following.
- Roku Outdoor Camera SE: You must set up your Roku Outdoor Camera SE before you can add the solar panel.
- Phillips screwdriver: You will need a Phillips screwdriver to install and mount your solar panel.
- Scissors: Needed to cut the micro USB silicone cover on the back of the outdoor camera. If you do not have scissors, you can firmly pull off the silicone cover instead.
- Drill and drill bit: If the mounting surface is soft or unstable, use a ¼ inch drill bit to drill a hole in the wall and then insert the included wall anchor.
Set up your solar panel
Refer to the Roku Solar Panel Quick Start Guide that was included with your solar panel for detailed instructions on assembling, mounting, and connecting your solar panel.
Tips for positioning your solar panel
Your Roku Solar Panel needs at least a few hours of direct sunlight to keep your Roku Outdoor Camera charged. Your solar panel comes with a 360° swivel mount that allows you to position your solar panel where it will get maximum sun. Avoid placing your solar panel anywhere that gets shady during the day.
- Put in a sunny spot. Find the area that gets the most direct sunlight throughout the day.
- Angle the solar panel up. Angle the solar panel upward 30°.
- Point it south. in the northern hemisphere, this will give you the most sunlight.
Troubleshooting your solar panel installation
If your Roku Solar Panel is not working as expected, first make sure your sure solar panel is connected to your Roku Outdoor Camera SE and then check potential causes of slow charging.
Confirm the solar panel is connected
Make sure the silicone cover on the back of the camera is completely removed. The USB cable should be firmly seated and not be blocked by any left over parts of the silicone cover. When your solar panel is connected and working, a charging ![]() icon will appear next to your outdoor camera battery in the Roku Smart Home mobile app.
icon will appear next to your outdoor camera battery in the Roku Smart Home mobile app.
Solar panel is not charging fast enough
The following may cause your solar panel not to charge your outdoor camera fast enough.
- Solar panel is dirty. Wipe the face of the solar panel with a soft, damp cloth regularly to clear any dust and debris.
- Frequent camera use. Viewing the live stream, recording events, and receiving event notifications wake up your camera and cause your camera battery to drain.
- Not enough sun exposure. Review the tips previously provided in this article to help your solar panel get more sunlight.


